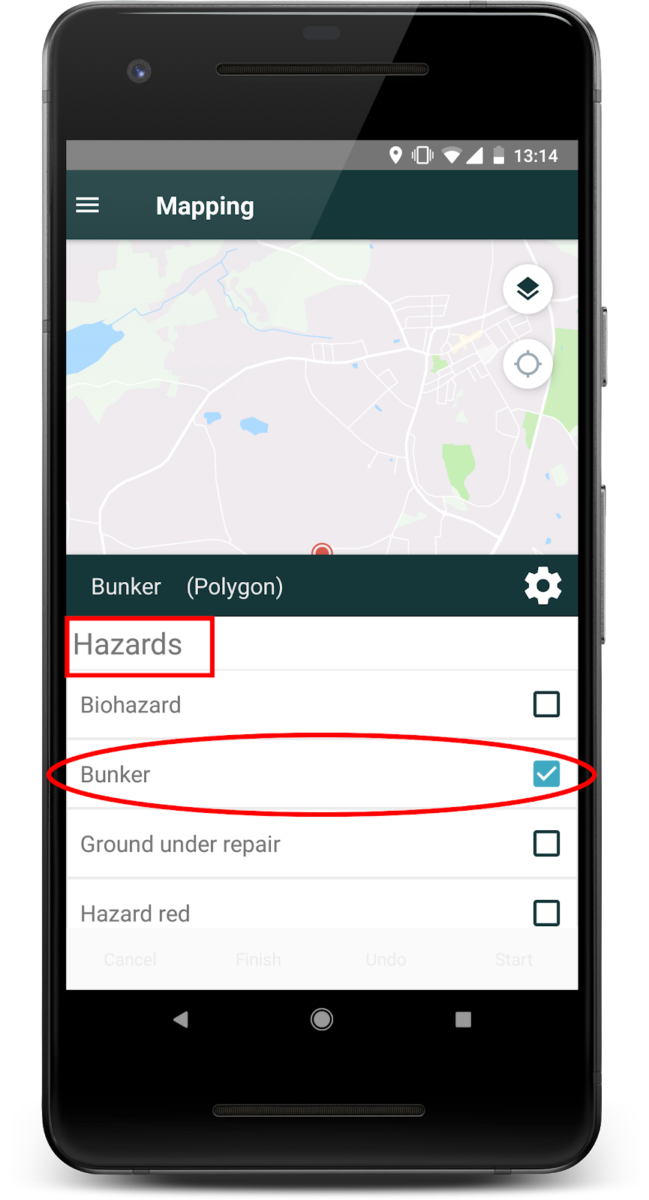
To start mapping you need to choose an element. To open the element menu press on the setting icon (the line in the bottom).
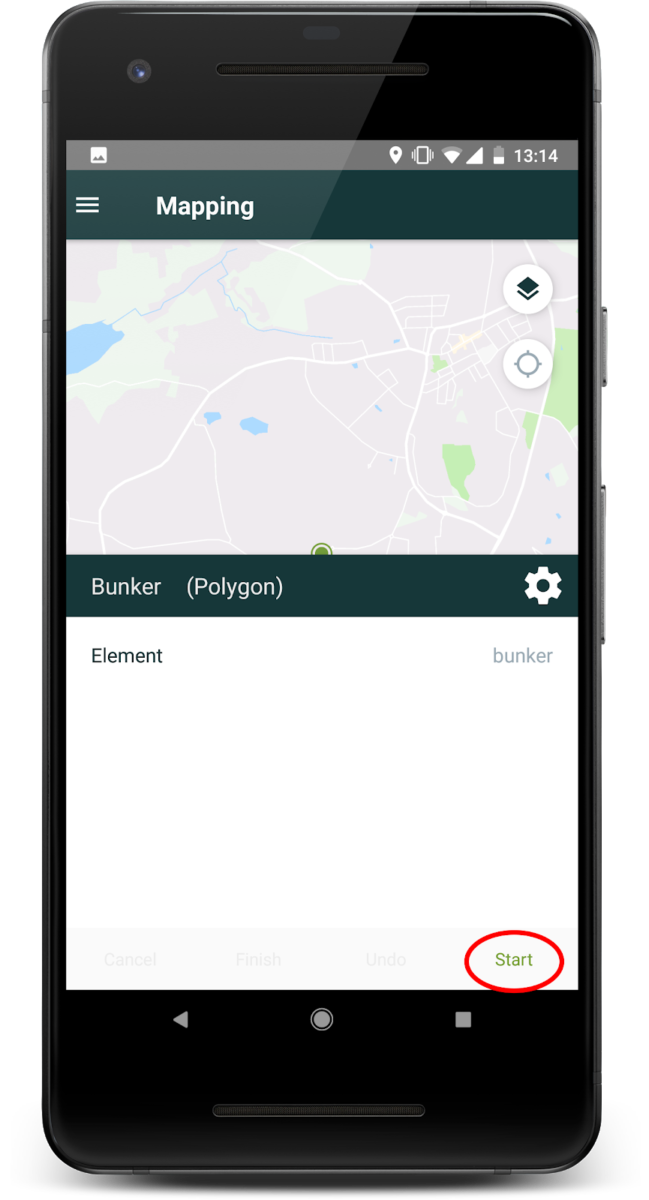
If you need to map a bunker, you choose the element [Bunker] in the [Hazards] Tracking Group and press [Start].


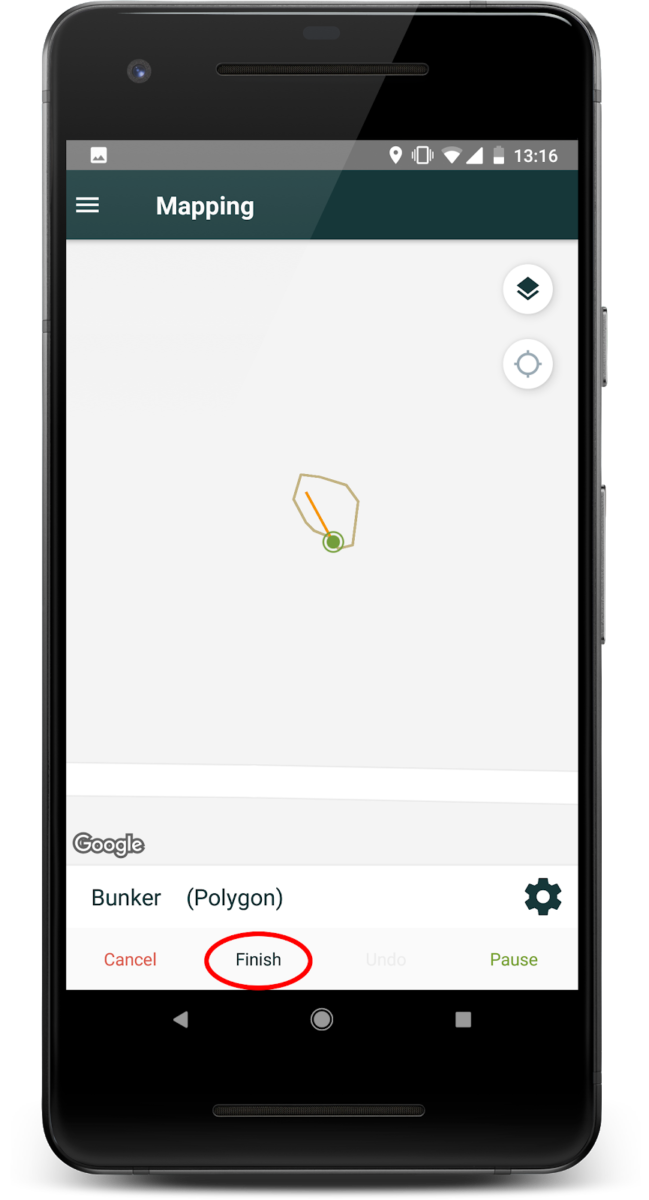
Make sure to physically stand on the edge of your bunker, when you start tracking in the App. Then walk around the bunker and when you get back to your start point, press [Finish] in the App.

Be aware that the elements are divided in 3 different mapping types: Point, Line and Polygon. Each type needs to be mapped differently:
Point:
As the word indicates, you will need to map this as a single point.
An example could be a tree. You need to stand beside the tree when you are selecting the element, press [Add] and then the tree is mapped and your App is synchronised.
Line:
When mapping a line you will need a start- and stop point.
An example could be a water stream. Physically you need to stand at the start point of the water stream, when selecting the element, then press [Start]. When you are at the end of the water stream (your stopping point), press [Finish].
Polygon:
A polygon needs to end where it started, but it’s a good idea to stop just around ½-1 meter from your starting point. You use a polygon to map greens, fairways, bunkers, forest, etc.
To map a polygon you need to physically stand on the edge of the element, then press [Start] and walk all the way around it, and when you are close to reaching your starting point, press [Finish].
The app will make sure to combine the start and the finishing points of the polygon so you dont need to worry about closing the circle.

Leave A Comment?