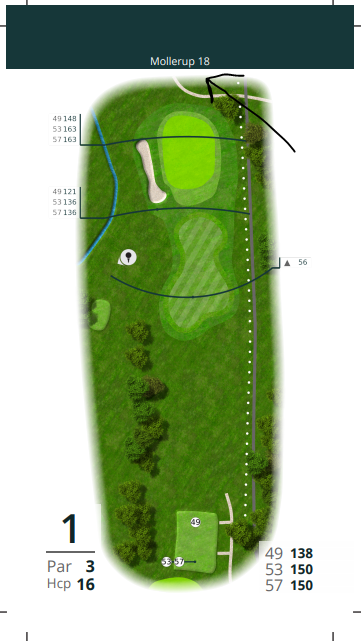
Click the [Holes] card to open the setup list of different settings you can change, which will change the way the holes are presented in your course guide.


Show Course Description
Will add a extra page to your course guide with the course description. If you have wrote a description for your course, you will be able to enable this to show that text.
Show Green Measurement
Will allow you to enable or disable green measurements such as Green Drawings, click to edit placement of the Green Drawings, click here.
Show Pin Position
Will show the pin (if the pin is mapped). It will also show Partition lines and ID if it’s enabled and mapped.
Show Pro Guideline
Will show the pro guideline in the course guide. You can see how and where to write the pro guideline here: Pro Guideline
Enable Extra Detail Page
Will add a extra page for each hole. On this extra page half of the page will be the green drawing, so it will be much easier to see the details on the green. It will also make more room for your sponsors. So if you have a lot of details on your green we recommend you enable this, because it will help the players to see it better.
What to write in the banner?
In the banner there is three options:
The default is [Course Name], this option will write the name of the course, in the banner. This is the name that was given under [Courses], if you want to edit this, you have to do it under the course.
If you choose [Hole Names] the text will be ‘Hole 1’, ‘Hole 2’ etc.
If you want no text, choosing [Nothing] will make the banner, just be the banner color.

Remember to [Save] after editing!
You can also setup custom pages for your course guide!

Leave A Comment?