With GLFR Business, you can consistently update your course guide. This applies to your digital course guide in GLFR/Gimmie and other graphics for print.
The corrections you can make depend on which of our four graphics you have chosen. Your club can select from the following four course guide graphics:
Correcting your 2D / 3D graphics.
2D Classic
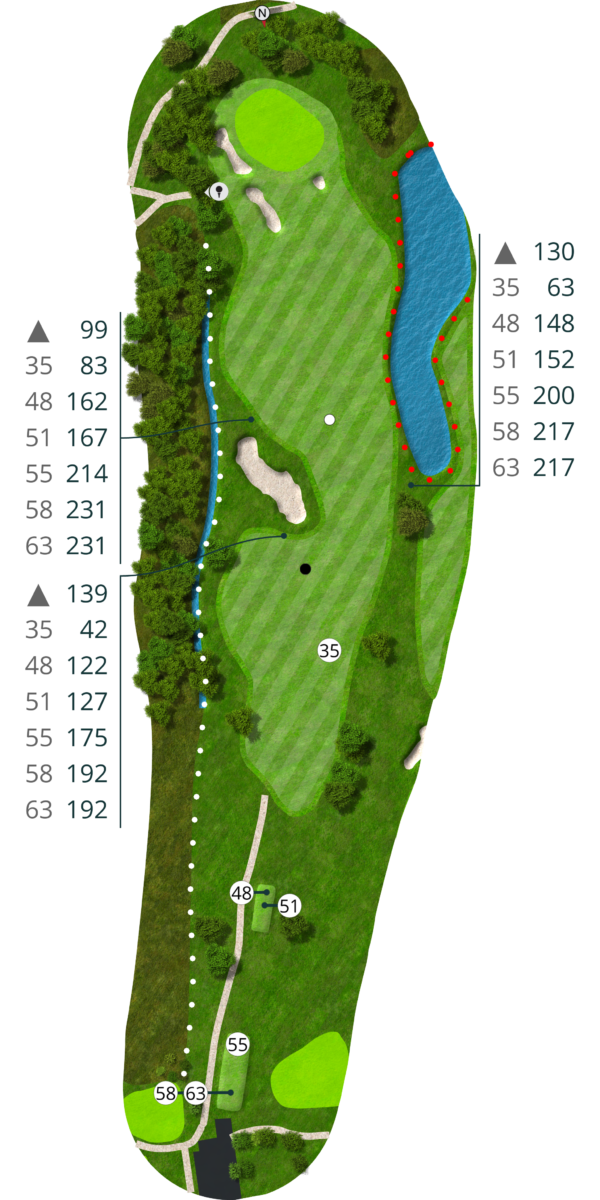
3D Classic
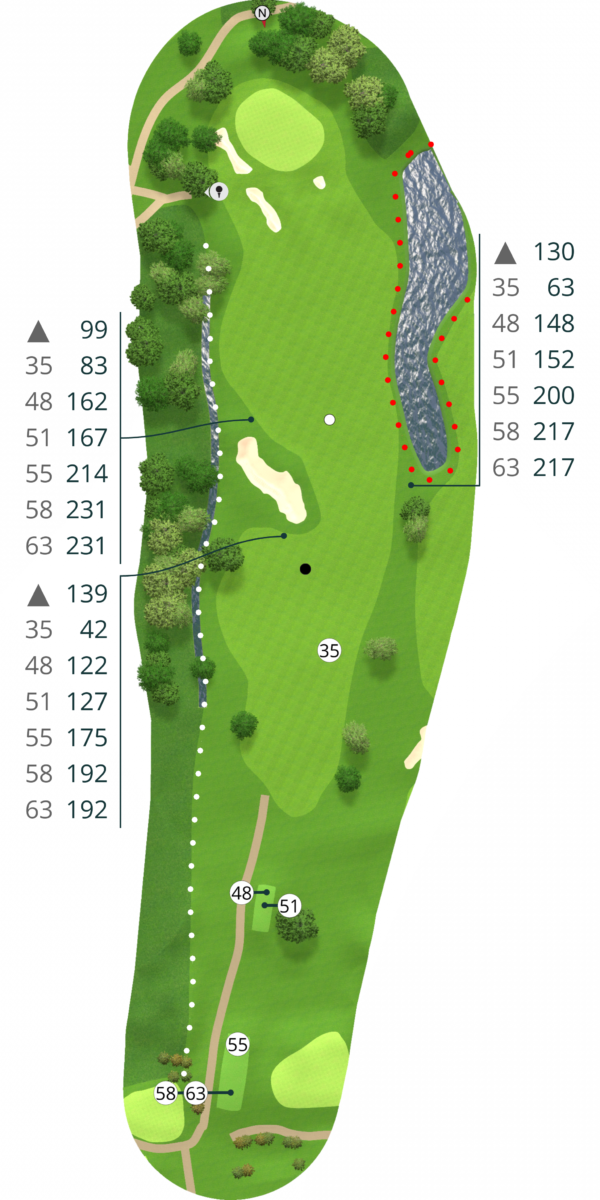
3D Scandinavian
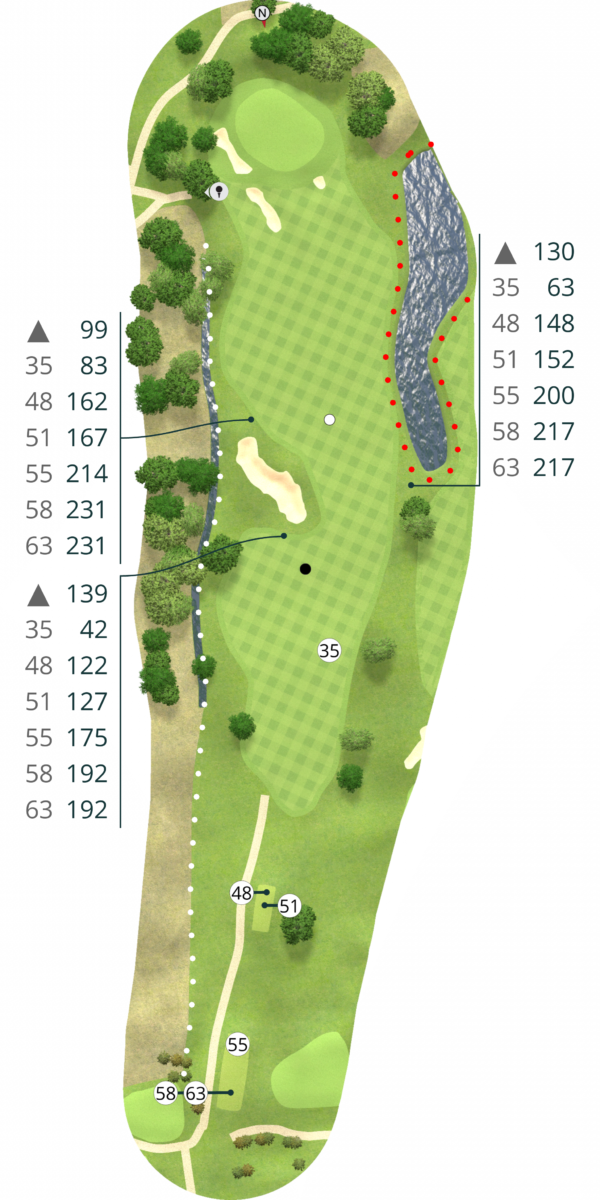
The 2D and 3D graphics are generated semi-automatically by GLFR Business. Hazards, cuts, icons, etc., placed manually in GLFR Business will be automatically generated on your graphics with one click.
For that reason, the 2D and 3D graphics visuals are limited to the elements that GLFR has loaded into the system.
The available elements can be inserted, removed, and manipulated so that you, as a club, can find a fit.
The 2D and 3D graphics differ from each other in terms of appearance. Other than the visuals, the most significant difference is that the 3D graphics have a height map applied under the elements, illustrating the actual elevation on your course.
Correcting your Premium course guide
Premium (customized)
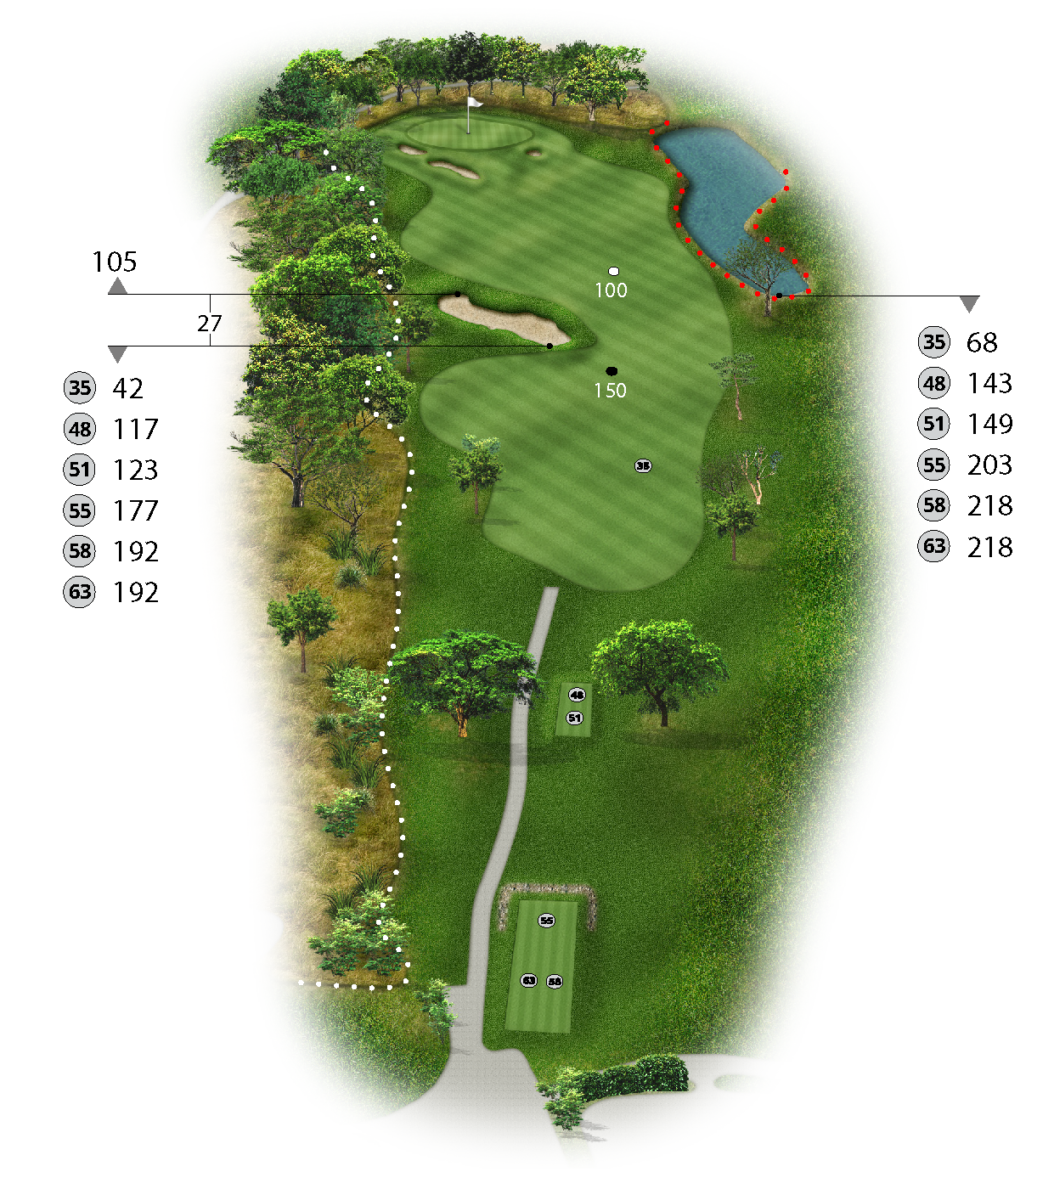
The Premium guide is not automatically generated nor limited by the graphics you can choose from. This means that we can almost insert and change whatever details, elevation, and elements the club finds fitting. The only limitation pertains to buildings, where we can only insert simple structures. However, if the club provides a 3D drawing for the house, we can incorporate that version, albeit with an associated fee for this additional work.
Step 1: Thoroughly go through your Course Guide
The first part of correcting your Course Guide, is to locate what needs to be corrected. Do this this by checking your Course Guide thoroughly. Your Course Guide is always avalible in GLFR Business for you to download, if you’re not sure how to find it take a look at this guide: https://scribehow.com/shared/How_to_find_and_download_your_Course_Guide__nqFWmGRwT9SN-EUCip24_w
Step 2: Describe and draw the corrections
To ensure the most efficient and accurate process for both parties, we need the corrections as actual drawings on the Course Guide, accompanied by a small comment about the correction.
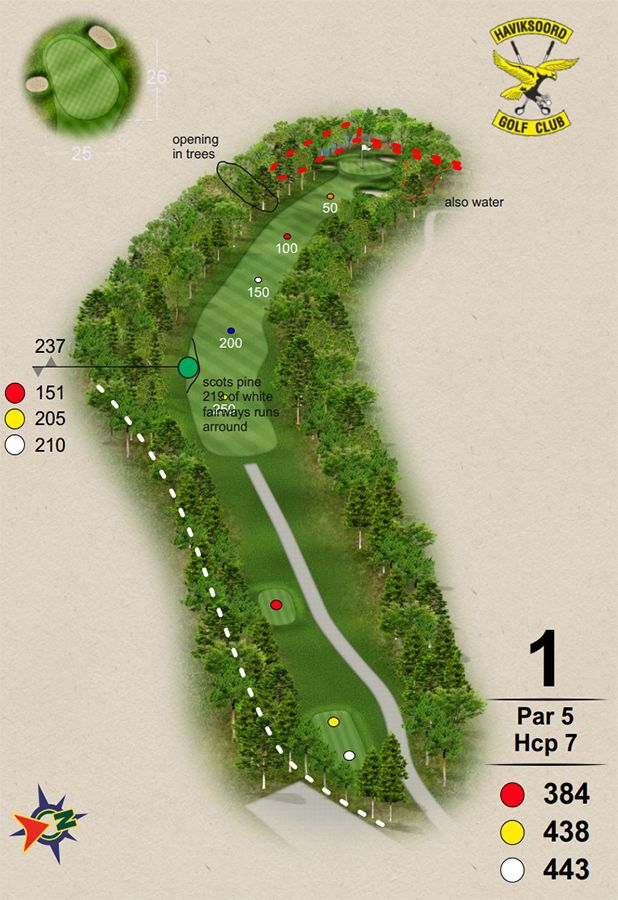
The club can either print out their Course Guide, draw the corrections and comments directly onto the Course Guide, scan the Course Guide back in, and send it to us. Alternatively, the club can follow the same process digitally. It could look something like this:
Correction of 2D / 3D Course Guide

Correction of Premium Guide

Leave A Comment?